Search K
Appearance

Centias enables developers to integrate Microsoft Entra's Authorization Code Flow with minimal configuration in code.
Each application that integrates Entra for authentication needs to be registered beforehand in the Entra admin center. In this section, we will go through the process step-by-step.
From the Admin Center home screen, go to App registrations and click on New registration. 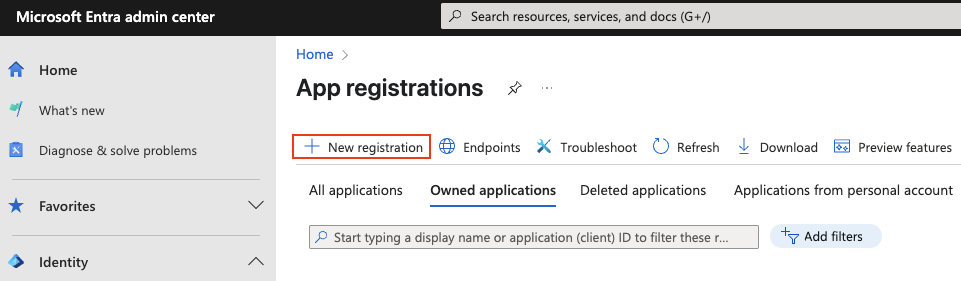
Put an identifier for your application in the Name field, under Redirect URI select Single-page application (SPA) and input your Centias application's base url. 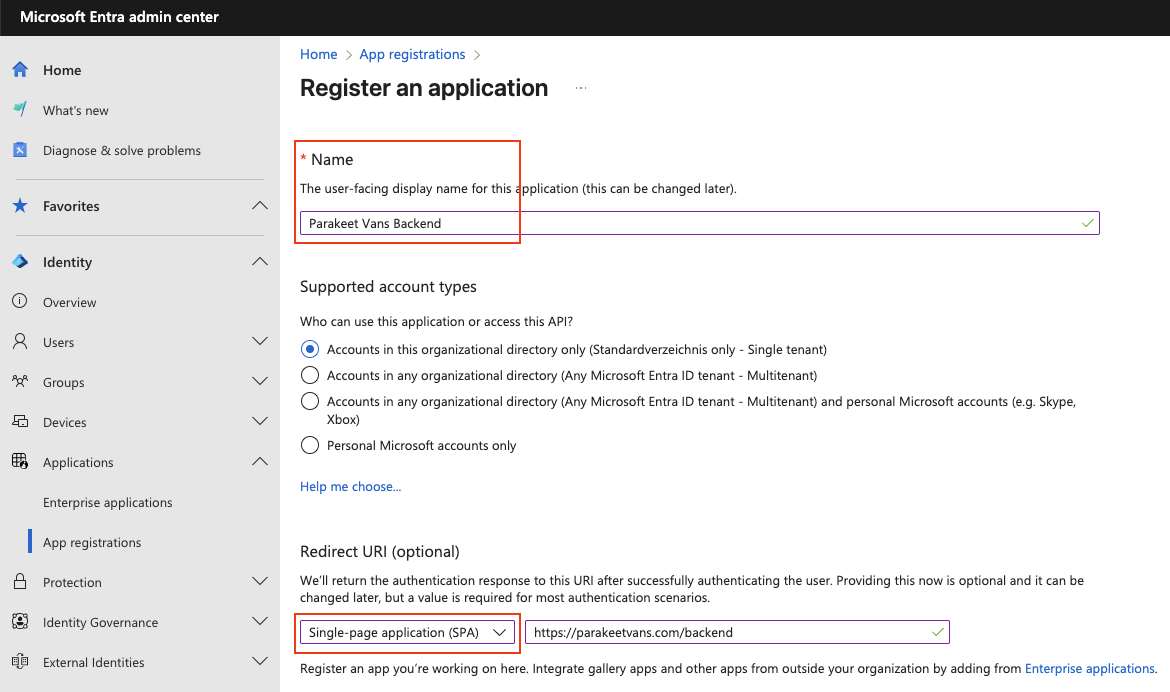
You should now see an overview of your new app registration, with an Application (client) ID and your Directory (tenant) ID. These parameters will be needed later. 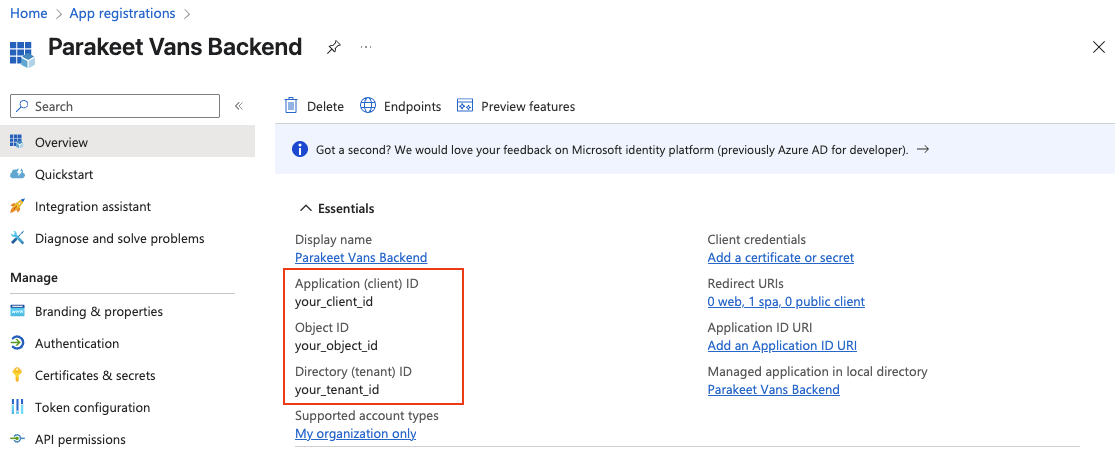
For authentication with Entra, we require Microsoft's identity platform package. Install it with NuGet through a client of your choice or by executing the following command in your terminal:
dotnet package install Microsoft.Identity.WebTo configure authentication, add the following section to your appsettings.json file:
{
  "AzureAd": {
    "Instance": "https://login.microsoftonline.com/",
    "ClientId": "your_client_id",
    "TenantId": "your_tenant_id",
    "AllowWebApiToBeAuthorizedByACL": true
  }
}
The ClientId and TenantId can be found on your app registration overview page. The AllowWebApiToBeAuthorizedByACL enables us to handle authenticated users without scope claims.
In your Program.cs you have to configure Microsoft Entra authentication.
using Linkerion.Centias;
using Microsoft.AspNetCore.Authentication.JwtBearer;
using Microsoft.EntityFrameworkCore;
using Microsoft.Identity.Web;

var builder = WebApplication.CreateBuilder(args);

// Add Entra Authentication
builder.Services.AddAuthentication(options =>
{
    options.DefaultScheme = JwtBearerDefaults.AuthenticationScheme;
    options.DefaultAuthenticateScheme = JwtBearerDefaults.AuthenticationScheme;
    options.DefaultChallengeScheme = JwtBearerDefaults.AuthenticationScheme;
}).AddMicrosoftIdentityWebApi(builder.Configuration.GetSection("AzureAd"));With Entra configured, it's time to add Centias to Program.cs.
builder.Services.AddCentiasWithEntra(new CentiasOptions
{
    Title = "Parakeet Vans - Backend Demo",
    BaseUrl = "https://localhost:7143",
    LicenseKey = null
}, new EntraAuthOptions {
    Authority = "https://login.microsoftonline.com/your_tenant_id",
    ClientId = "your_client_id",
});
Add your tenant id to the end of the Authority URI string. Set the ClientId to the Application (client) ID from the app registration overview. Finally, before running the app, call UseCentiasWithEntra().
var app = builder.Build();
app.UseCentiasWithEntra();
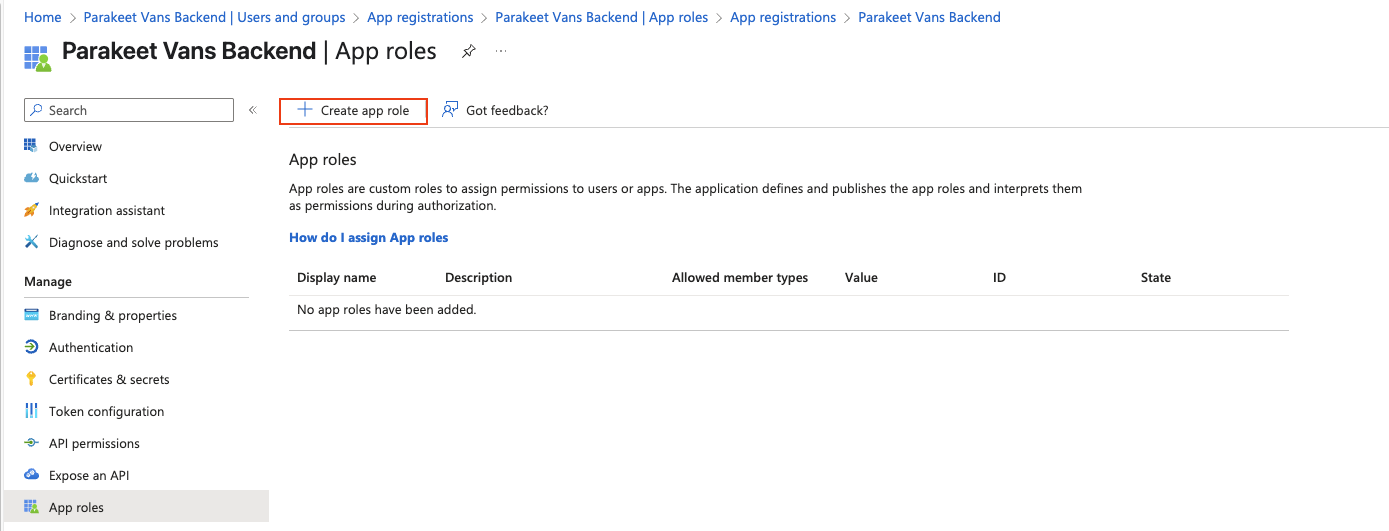
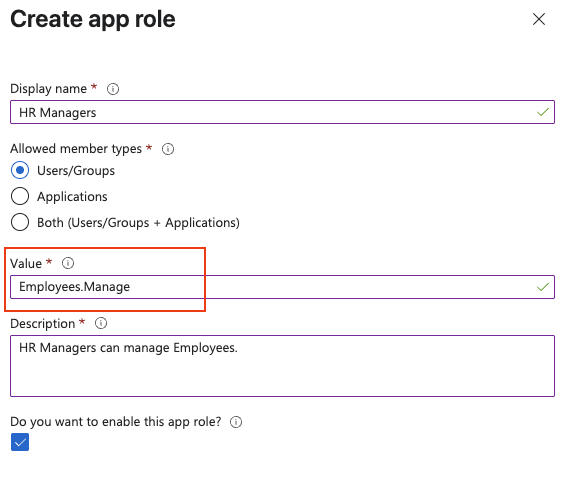
app.Run();You can create application roles in Entra that are unique for each app registration. You can combine these roles with role-based authorization in your application.
To create roles in Entra, follow these steps:

Add the following line to your Program.cs, to prevent the standard JWT config from overwriting your Entra app role claims:
JwtSecurityTokenHandler.DefaultMapInboundClaims = false;With our example role, we can limit who can access the Employee resource to all users with the role value Employees.Manage by adding a role-based access modifier:
[Authorize(Roles = "Employees.Manage")]
public class EmployeeResource(ApplicationDbContext context) :
    Resource<ApplicationDbContext, Employee, int>(context)
{
    //...
}